Specifying a semi-polished ceramic surface without defining how it was made is one of the more reliable ways to arrive at a production batch that no one will approve. The problem is rarely the tile body itself—it is the gap between what the design reference suggested and what the abrasive process actually delivered, a gap that widens when the starting surface, tool selection, and cycle depth were never aligned with each other before sampling began. Patchy gloss, unintended texture loss, and glaze exposure can each trace back to a single upstream decision made before the polishing line was even set up. Understanding how a controlled finishing process develops a lappato surface gives specifiers, factory QC teams, and procurement engineers a shared basis for judging whether a sample is repeatable—and whether the process that made it can hold tolerance across a production run.
Surface Refinement Behind a Lappato Finish
A lappato finish does not treat the tile as a uniformly flat body to be polished to maximum reflectivity. The process targets selected surface features, removing material gradually until a specific proportion of the tile reads as glossy while the remaining texture continues to scatter light. The result is a surface that is partly reflective and partly diffuse—a commercial appearance claim, not a quantified gloss range, and one that varies depending on how far the abrasive stage is taken.
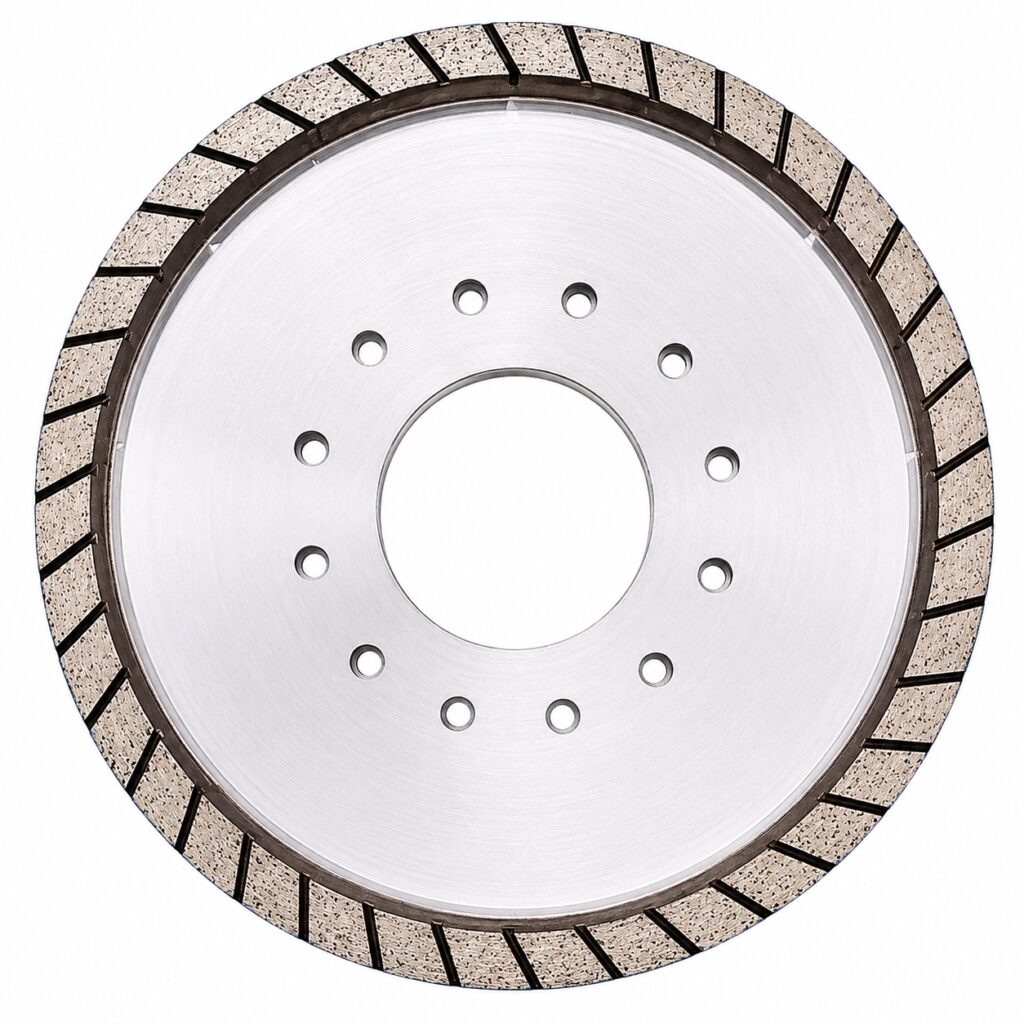
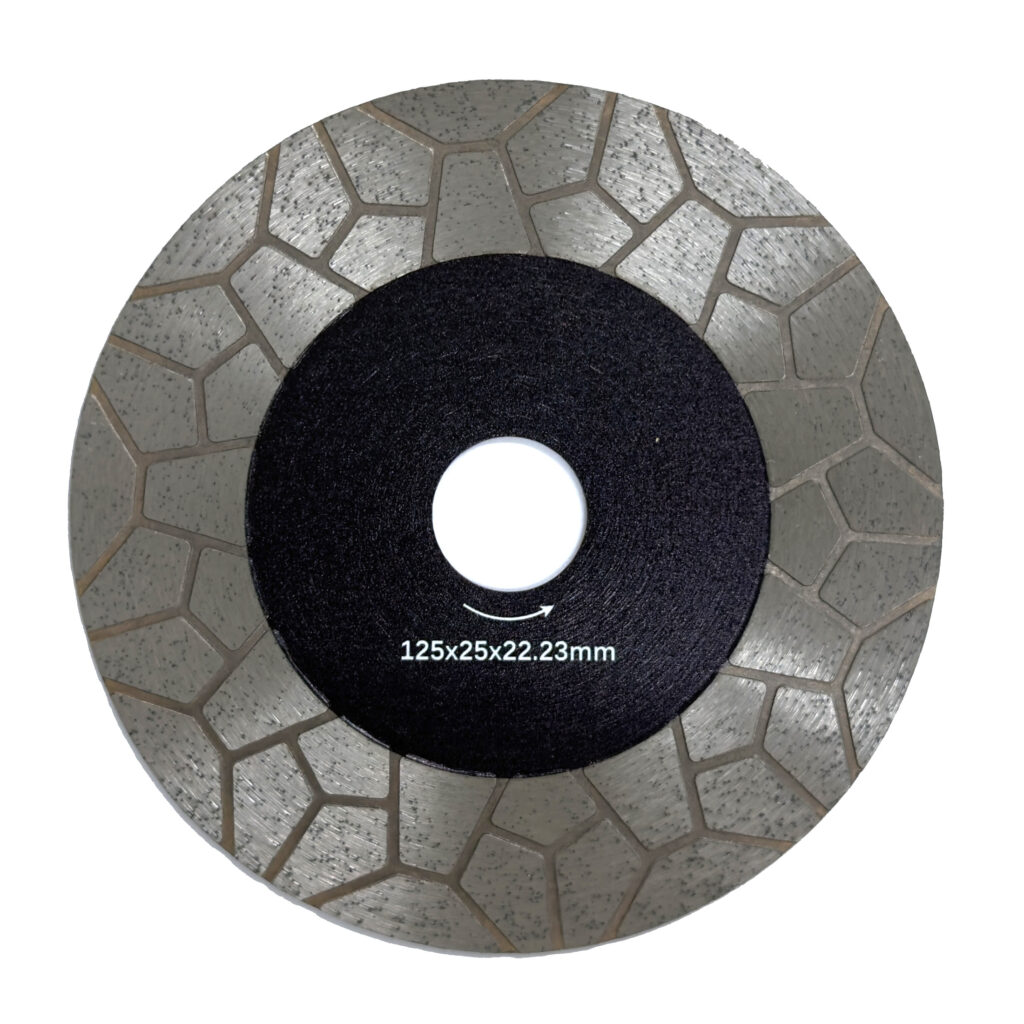
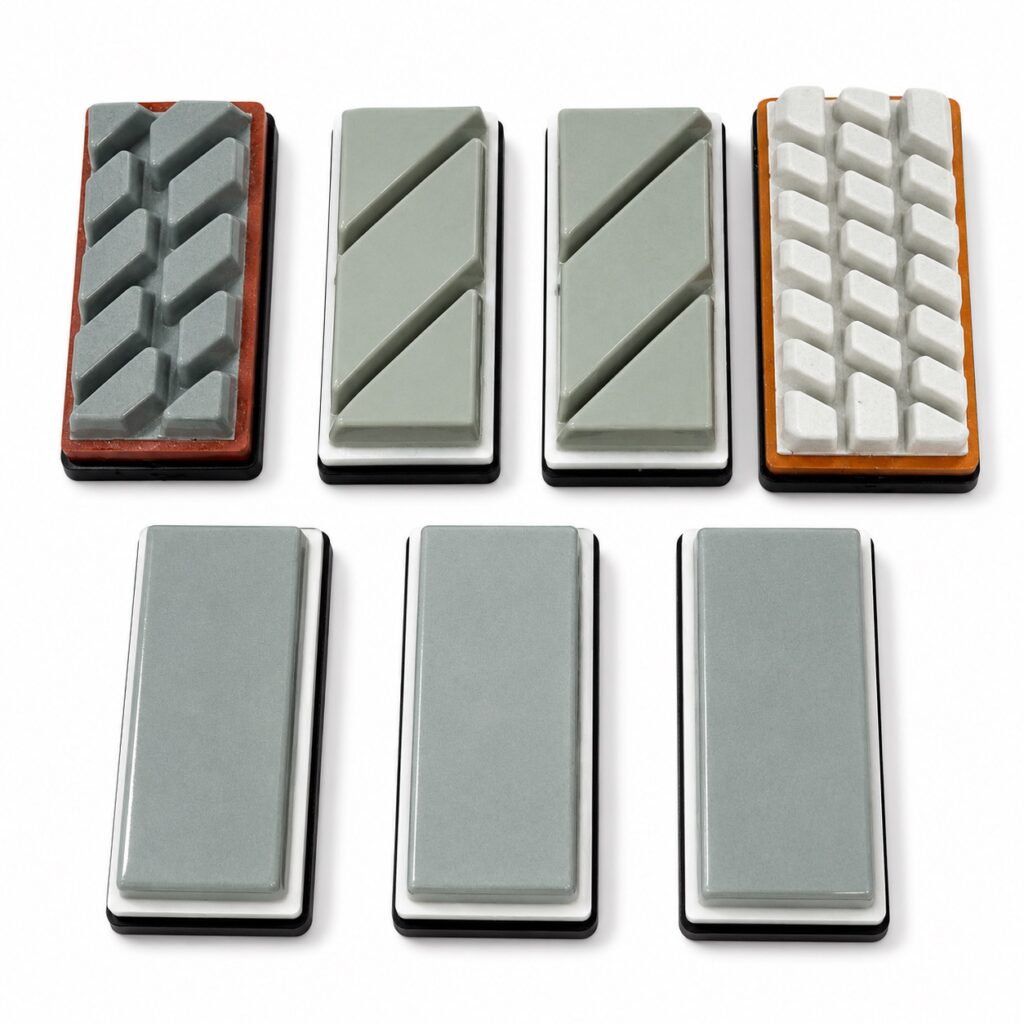
The abrasive contact in an industrial lapping line works progressively. Diamond resin-infused lappato tools remove material in controlled increments, and the depth and duration of that removal determines where the surface lands between a light refinement and a near-full polish. That range is where most specification friction originates: two samples from the same tile body, processed to slightly different depths, can look meaningfully different under the same lighting conditions and still be described by the same commercial finish name.
| Aspect | Description |
|---|---|
| Surface appearance | Partly glossy, partly matt, retaining some natural tile texture for a semi-polished look. |
| Abrasive process | Gradual material removal using diamond resin-infused lappato tools, leaving an even texture. |
What the table captures as a general surface description, the production process must produce consistently. The distinction between “gradual material removal” and “controlled material removal” matters here. Gradual describes the tool mechanism; controlled describes the process discipline—feed rate, spindle pressure, abrasive grade sequence—that keeps the outcome repeatable from tile to tile.
Elastic Contact Across Raised and Recessed Areas
Most ceramic tile surfaces intended for lappato treatment are not geometrically flat. Structured glazes, through-body porcelain with surface relief, and textured faces all present a topography where raised peaks and recessed valleys exist within the same tile field. A rigid polishing head would concentrate contact on the peaks and leave the recessed areas entirely untouched. The lappato result across such a surface depends directly on whether the tooling can conform to that relief without bridging over it.
Elastic polishing heads address this by deforming slightly under spindle pressure, allowing the abrasive face to maintain contact across a wider range of elevations than a rigid tool would reach. The extent of that conformance is a function of tool durometer, applied pressure, and head geometry—none of which are universally standardized, and all of which need to be selected against the specific tile topography being processed. Treating tool selection as a generic procurement step rather than a surface-specific engineering decision is where many lappato lines produce results that look acceptable on flat reference tiles and inconsistent on structured ones.
The downstream consequence of poor elastic conformance shows up as a gloss distribution problem: peaks are refined while recessed areas remain near-matt, producing a contrast pattern that reads as uneven rather than intentionally semi-polished. Whether that unevenness is acceptable depends on the approved reference and the lighting conditions under which the tile will be installed—both of which should be defined before tooling is confirmed, not after the first production run is pulled.
Gloss Development Without Erasing the Intended Texture
The number of polishing wheel passes directly determines where a tile lands on the spectrum between preserved texture and developed gloss. A full polishing cycle uses more iterations to close surface microporosity and build uniform reflectivity. A lappato process uses fewer, which leaves the surface in a state where peaks catch direct light and recessed areas do not—producing what reads as a speckle or shimmer effect under directional illumination.
| Polishing type | Wheel iterations | Surface result |
|---|---|---|
| Full polish | More (standard full cycle) | Uniform high gloss, minimal remaining texture |
| Lappato (semi-polish) | Fewer (reduced cycles) | Partially polished, speckle highlights under direct light, preserves some texture |
The trade-off in the table is not symmetric. Reducing passes to preserve texture also increases variation: the reflective appearance of a lappato tile changes more dramatically with viewing angle and light source than a fully polished tile does. That variability is part of the intended aesthetic, but it becomes a defect claim if the production batch shows more unevenness than the design reference suggested. Deeper refinement tightens the reflective consistency but at the cost of flattening the texture that gave the original sample its character. Neither direction is wrong in isolation—the problem is when the cycle depth used to produce the approved sample is not documented and held constant through production.
For specifiers reviewing samples, this means the lighting condition during sample approval is not a neutral variable. A lappato surface that reads as richly dimensional under raking light may read as nearly uniform under diffuse overhead illumination. Approving a sample under one condition and installing under another is a recurring source of post-installation disputes that the abrasive process itself cannot resolve.
Failure Patterns from the Wrong Starting Stage
Beginning a lappato process on an unsuitable tile body or at the wrong abrasive stage is not a recoverable error in most production contexts. If the starting glaze contains subsurface voids, pinholes, or density inconsistencies, material removal exposes those defects at the surface rather than refining past them. The result is a patchy gloss distribution that does not correspond to the intended texture relief—it corresponds instead to where the glaze had hidden weaknesses.
Entering the abrasive sequence at too coarse a stage for the intended finish depth leaves scratch patterns that subsequent lighter passes cannot fully remove. The surface may appear adequate under factory lighting but reveal linear abrasion marks under the oblique light conditions of an installed floor or wall. Entering too fine creates the opposite risk: insufficient material removal to develop any reflective contrast, producing a surface that reads as a light haze rather than a controlled semi-polish.
Both failure modes share a common upstream cause—the abrasive stage was selected based on general practice rather than confirmed against the specific tile body and target finish. This is especially consequential for glazed porcelain, where glaze thickness and hardness vary between colorways and firing batches. A sequence that works reliably on one body may expose glaze on another. Confirming the starting stage through a controlled sample run before locking a production recipe is a basic risk-reduction step, but it is frequently compressed under schedule pressure, which is precisely when post-production rework becomes the more expensive outcome.
The irreversibility matters: once glaze defects are exposed or texture is removed past the intended depth, there is no remediation path that restores the original surface. The tile is either downgraded or scrapped.
Reference Samples for Visual Communication
A lappato reference sample serves one function in a production context: it gives factory QC, the specifier, and the site inspector a shared visual anchor. It does not function as a metrology-grade surface standard, and it does not replace agreed-upon gloss or texture tolerances where those exist. Its value is proportional to how well it was produced and how consistently it is interpreted.
The failure mode here is definitional. Design samples, factory production samples, and pre-installation site checks often use different lighting conditions, different viewing distances, and different comparison logic. A sample approved in a design studio under controlled diffuse light may look different from what a site inspector evaluates under the as-installed lighting of the finished space. If the parties have not aligned on what the reference sample is meant to communicate—and under what conditions it should be evaluated—the sample becomes a source of dispute rather than a resolution tool.
Reference samples should be produced on the same tile body, same glaze, and same polishing line setup that will be used for the production run. Samples produced on a development line or from a different batch of the same SKU may not accurately represent what full production will deliver, particularly where glaze density or tile body composition varies between batches. Treating the reference sample as a communication checkpoint rather than a final specification protects all parties from the gap between what was approved and what arrives on site.
Batch Acceptance Against the Approved Surface
Production batch acceptance for a lappato finish is a comparative judgment, not a single-metric pass/fail. The approved reference sample defines the visual and tactile target; batch inspection confirms whether production output is consistent with that target across the full run, not just the first tiles off the line.
ISO 10545-2:2018 provides a framework for determining surface quality and dimensional conformance in ceramic tile inspection. It does not define a specific acceptance criterion for lappato surfaces or establish a standardized gloss range for semi-polished finishes. Where a project requires quantified gloss tolerances, those need to be established contractually between the tile manufacturer and the specifier, using agreed instrumentation and measurement conditions. The standard supports the inspection methodology; it does not supply the lappato-specific threshold.
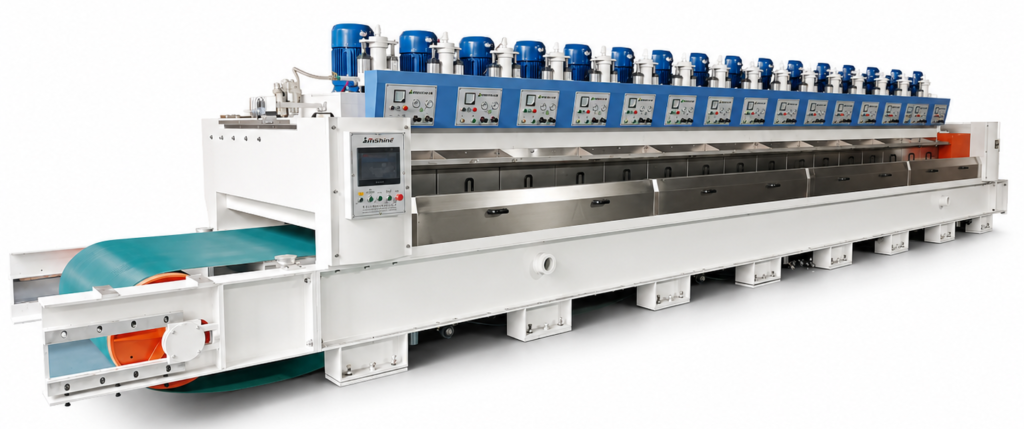
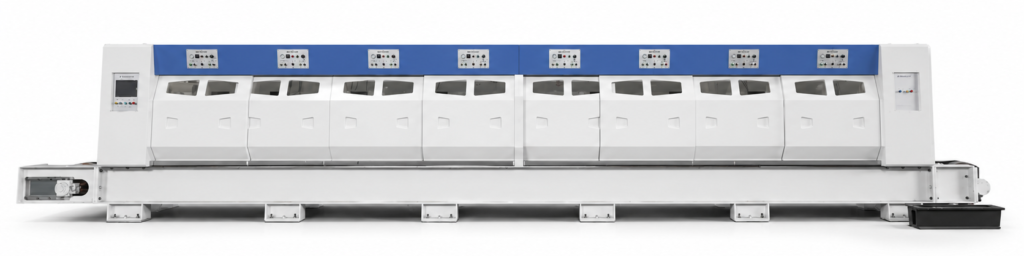
In practice, batch acceptance should combine visual comparison against the reference sample—under consistent, agreed lighting—with any gloss or texture measurements that were defined during sample approval. Tiles at the edges of the production run, where line warm-up or abrasive wear may affect output, warrant closer scrutiny than mid-run tiles. Abrasive wear across a polishing line is gradual and directional: as tools degrade, the depth of surface refinement decreases, and gloss consistency across the tile field can shift before the change is visually obvious. A ceramic tile polishing machine that tracks spindle load and feed rate provides process data that can flag drift before it becomes a batch rejection problem.
Batch acceptance that relies entirely on visual comparison without a documented reference condition—lighting, viewing angle, acceptable gloss range—is difficult to defend when a dispute arises. The approved sample is only useful as a benchmark if the conditions under which it was approved are recorded and reproducible.
The decisions that determine whether a lappato finish is repeatable across a production run are made before the polishing line starts: tile body suitability, abrasive stage entry point, tool selection against the actual surface topography, and cycle depth documented from the approved sample. Each of those choices has a downstream consequence that surface inspection alone cannot correct after the fact.
Before confirming a lappato specification for production, the practical questions to resolve are whether the abrasive sequence was developed on the same tile body and glaze batch as the approved reference, whether the lighting conditions used during sample approval have been documented for use in batch inspection, and whether any gloss or texture tolerances have been agreed and instrumented rather than left to visual judgment. Where lappato abrasives are being selected for the line, confirming their elastic properties against the tile topography in question—not just against a flat reference—reduces the risk of discovering conformance problems at production scale.
Frequently Asked Questions
Q: What if the tile design has very deep relief—can lappato still achieve a consistent semi-polished look?
A: Consistent semi-polish becomes unreliable once relief depth exceeds the conformability range of the elastic tooling. The abrasive can only bridge a limited elevation difference; beyond that, peaks are refined to a higher gloss while recessed areas remain nearly untouched, creating a contrast that reads as patchy rather than intentionally semi-polished. If the topography is extreme, a lappato finish may not be the right aesthetic target at all.
Q: After setting up the production line, how do I maintain consistent lappato surface quality as abrasives wear?
A: Schedule regular reference-tile checks under the same lighting conditions used for sample approval, and monitor spindle load and feed rate data to catch the gradual loss of material removal depth. Abrasive wear reduces refinement incrementally, so gloss can drift before it is visually obvious. Replacing abrasives based on trend data rather than waiting for visible defects keeps the whole batch within tolerance.
Q: At what point does a lappato finish cross over into a full polish, and how is that boundary controlled?
A: The boundary is not a universal gloss-unit number; it is the point at which the original surface texture is no longer legible because recessed areas have been polished flat. Full polishing closes microporosity across the entire tile face, while lappato deliberately leaves low areas matte. Control relies on holding the number of abrasive passes and process depth to match the approved reference sample, not chasing a single gloss reading.
Q: How does lappato differ from a honed finish, and how should I decide which to specify?
A: Lappato creates a selectively polished surface where raised features catch light and recessed areas stay matte; honing produces an even, low-sheen appearance with no pronounced reflective peaks. Choose lappato when you want texture-driven shimmer and dimensional contrast under directional light. Choose honing when you need a uniformly muted surface that looks the same from any viewing angle.
Q: Under what conditions is investing in a dedicated lappato polishing line commercially justified?
A: A dedicated lappato line pays off when the market demands textured, semi-polished surfaces that can command a premium and production volumes are high enough to absorb the tooling and process-control overhead. The investment risks being uneconomical if scrap rates climb because the process isn’t dialled in tightly—so the first condition is the ability to lock the abrasive recipe, tile body, and reference sample into a repeatable sequence that holds across full runs.